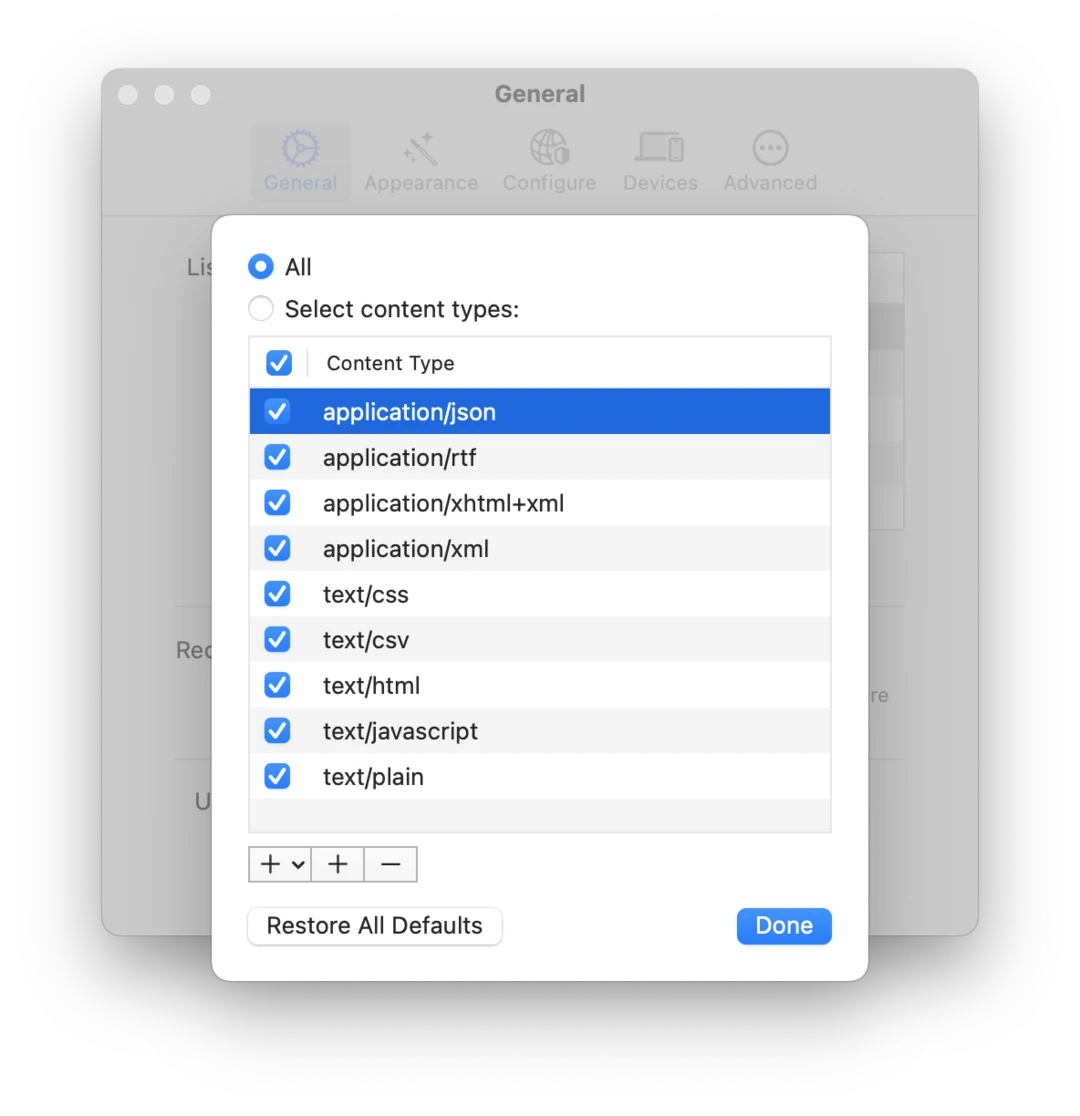
History
See a list of all captured messages.
Proxygen’s main view is its History tool that shows a list of all captured HTTP messages. Each row displays one HTTP transaction, so a request and its potential response. You can quickly search, filter and reorder the messages in this list.
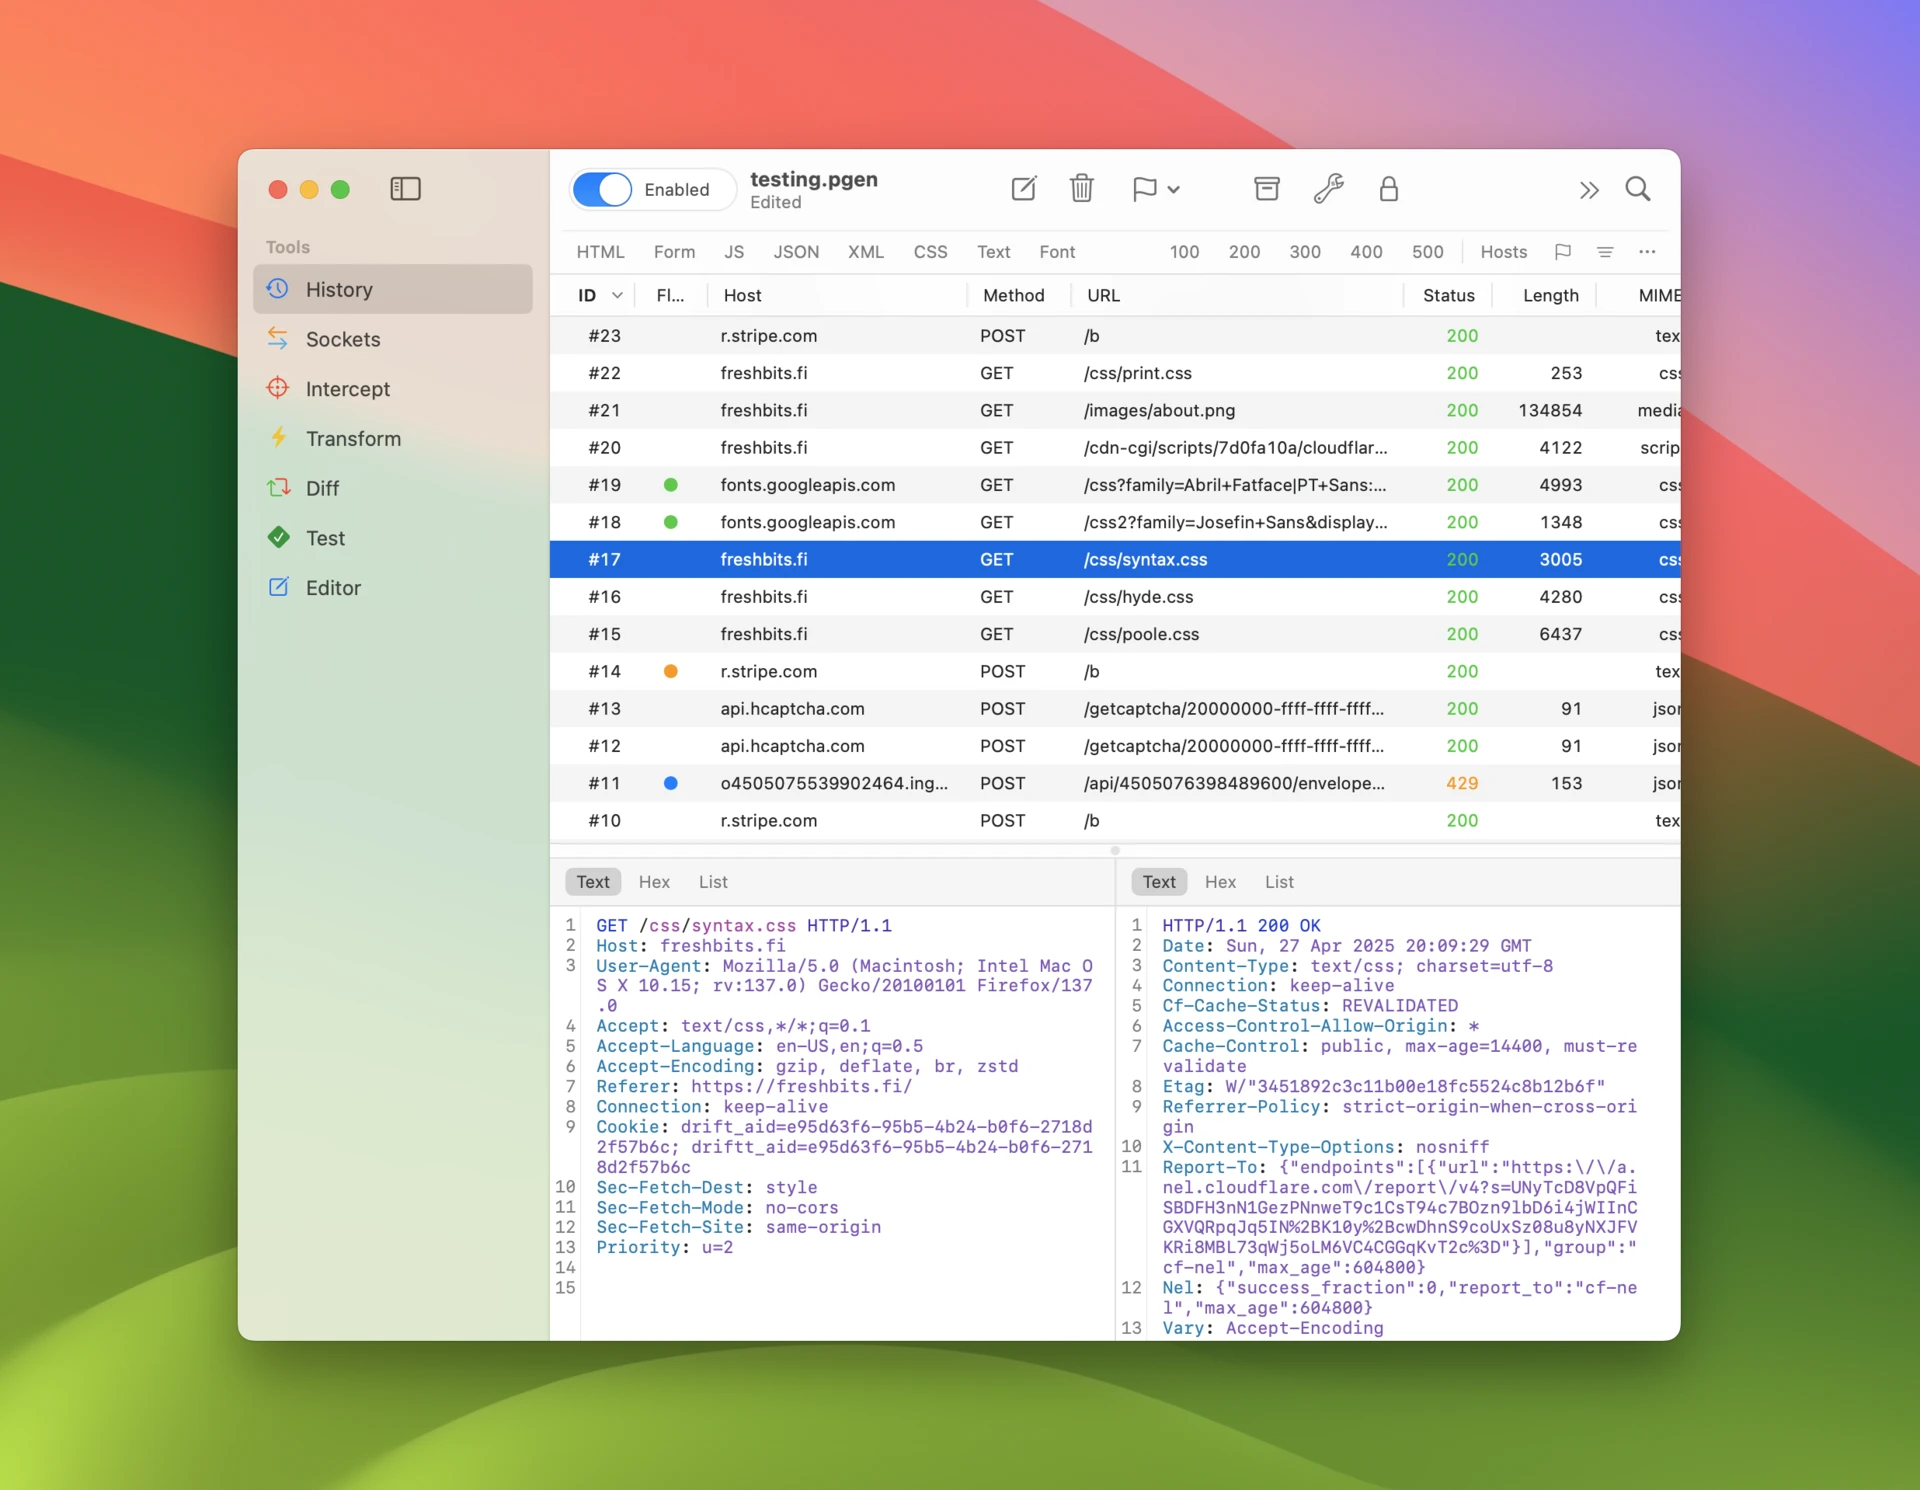
Sitemap
Sitemap gives you an hierarchical overview of the HTTP traffic letting you inspect visited subpaths under each domain. Toggle visibility of sitemap using a button in the filter accessory bar. Select rows in the sitemap to filter message list to show only matching traffic.
Use the search field at the top of sitemap to Filter items in it to matching URL paths.
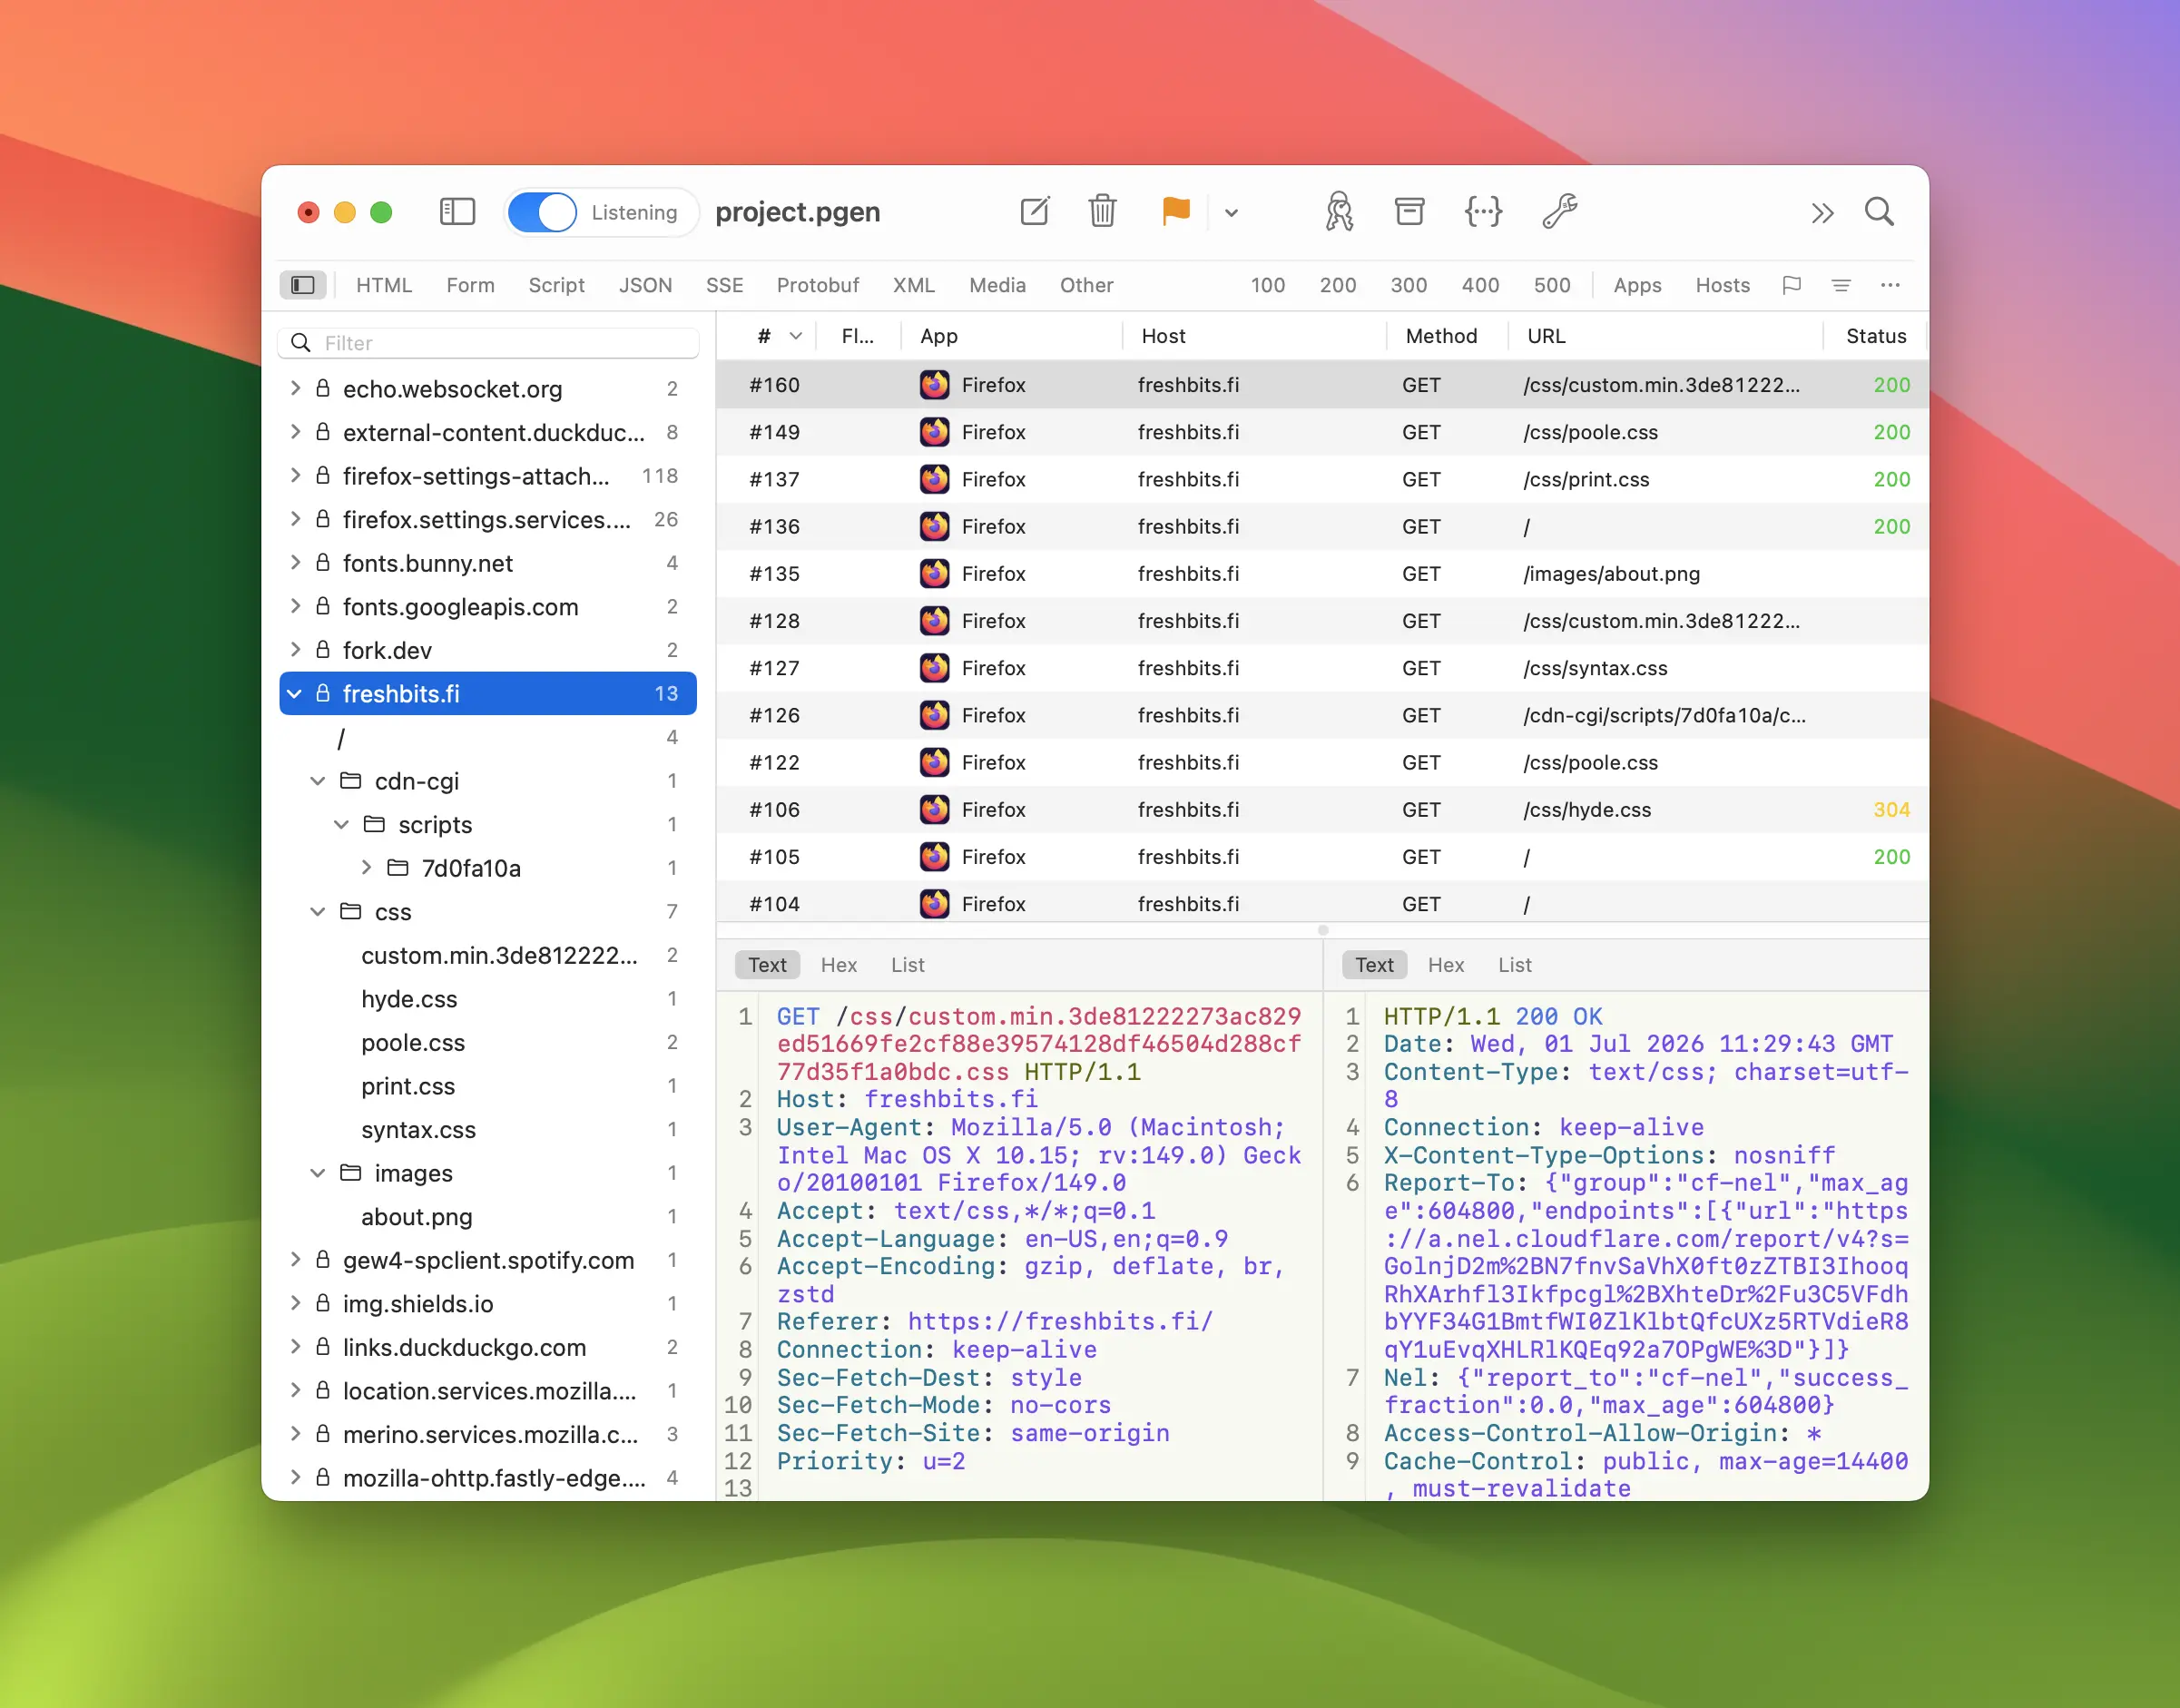
Client app lookup
Proxygen can find the client app that sent each request and display it in theb Client column in message history. The lookup is based on the source TCP port of the incoming connection. Note that client app names and icons may not be available if those apps cannot be found on the current system.
The Clients popup allows you to select specific client apps and keyboard shortcut command-y is useful for instantly filtering with client app of the selected message.
Filtering
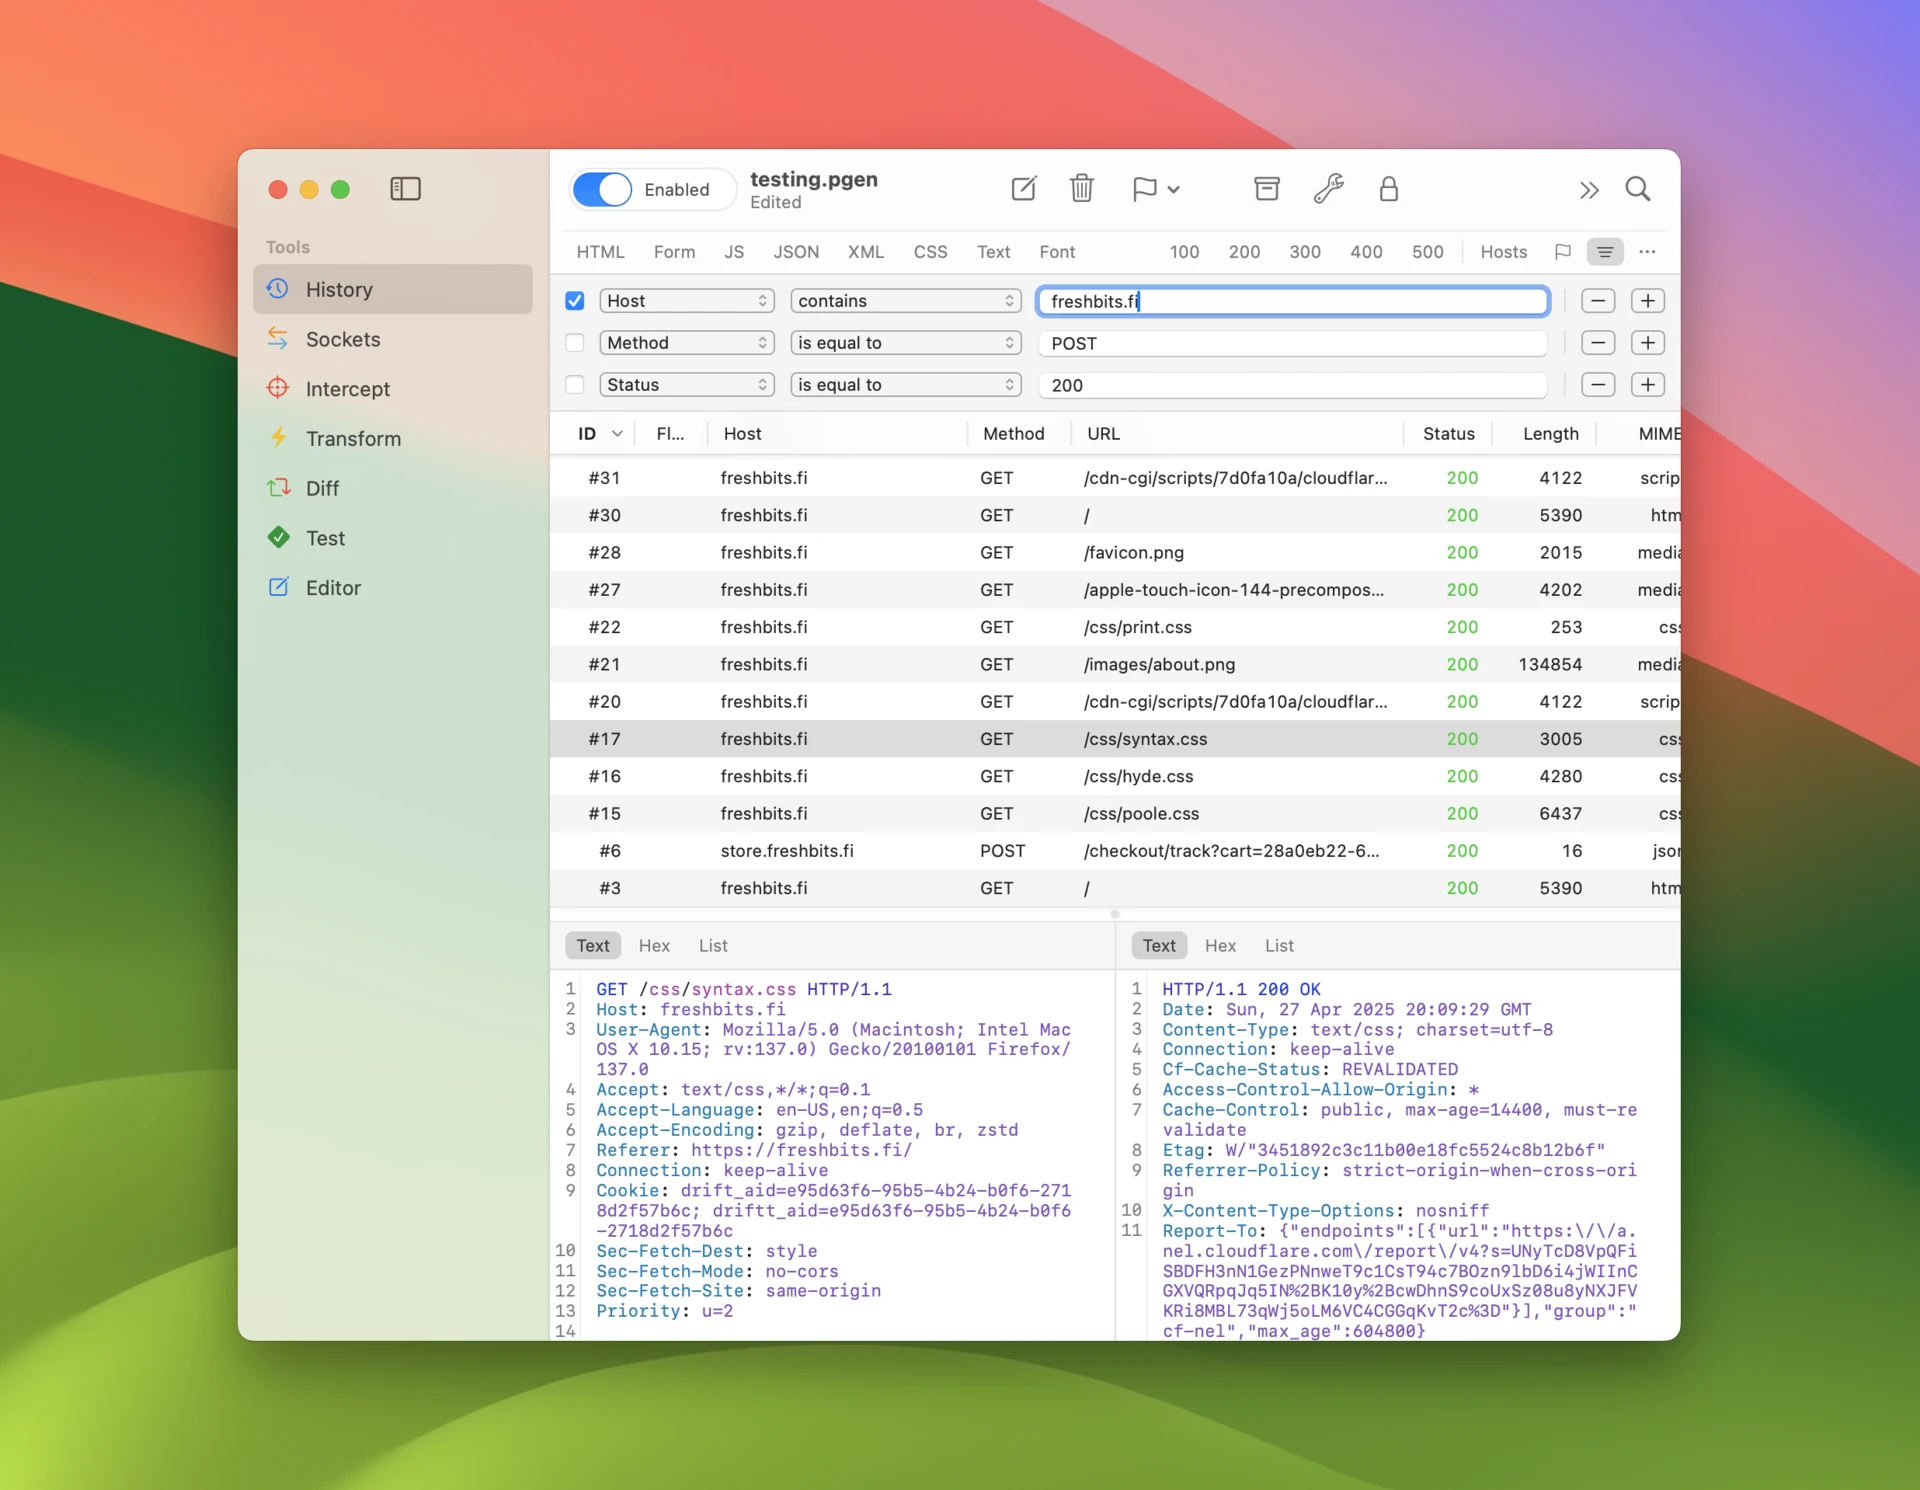
To quickly filter messages, use the filter accessory bar, where you have toggles for various content families (such as HTML, Form and JSON), and response status code ranges (100, 200, 300, etc.).
Hosts popup quickly drills down to traffic of some target hosts. Keyboard shortcut shift-command-y filters messages to target host of the selected message.
In the top right corner you’ll find a search field which searches from all text based content in requests and responses, including any notes you’ve added. Note that body data that cannot be decoded as text is not included in searches. While this does limit the search to some level, it also makes it a lot faster.
Messages can be sorted by clicking a column header. Columns can be reordered by dragging them horizontally. Message sort order, visible columns and their order is persisted across app launches, so you always return to the same view you were in previously.
Assign flags to messages using context menu action or keyboard shortcuts, then filter to messages with specific flags using the Flags popup.
Most tools in Proxygen allow toggling their orientation. This can be quickly accessed with keyboard shortcut control-command-o. See which orientation works best for you in each tool.
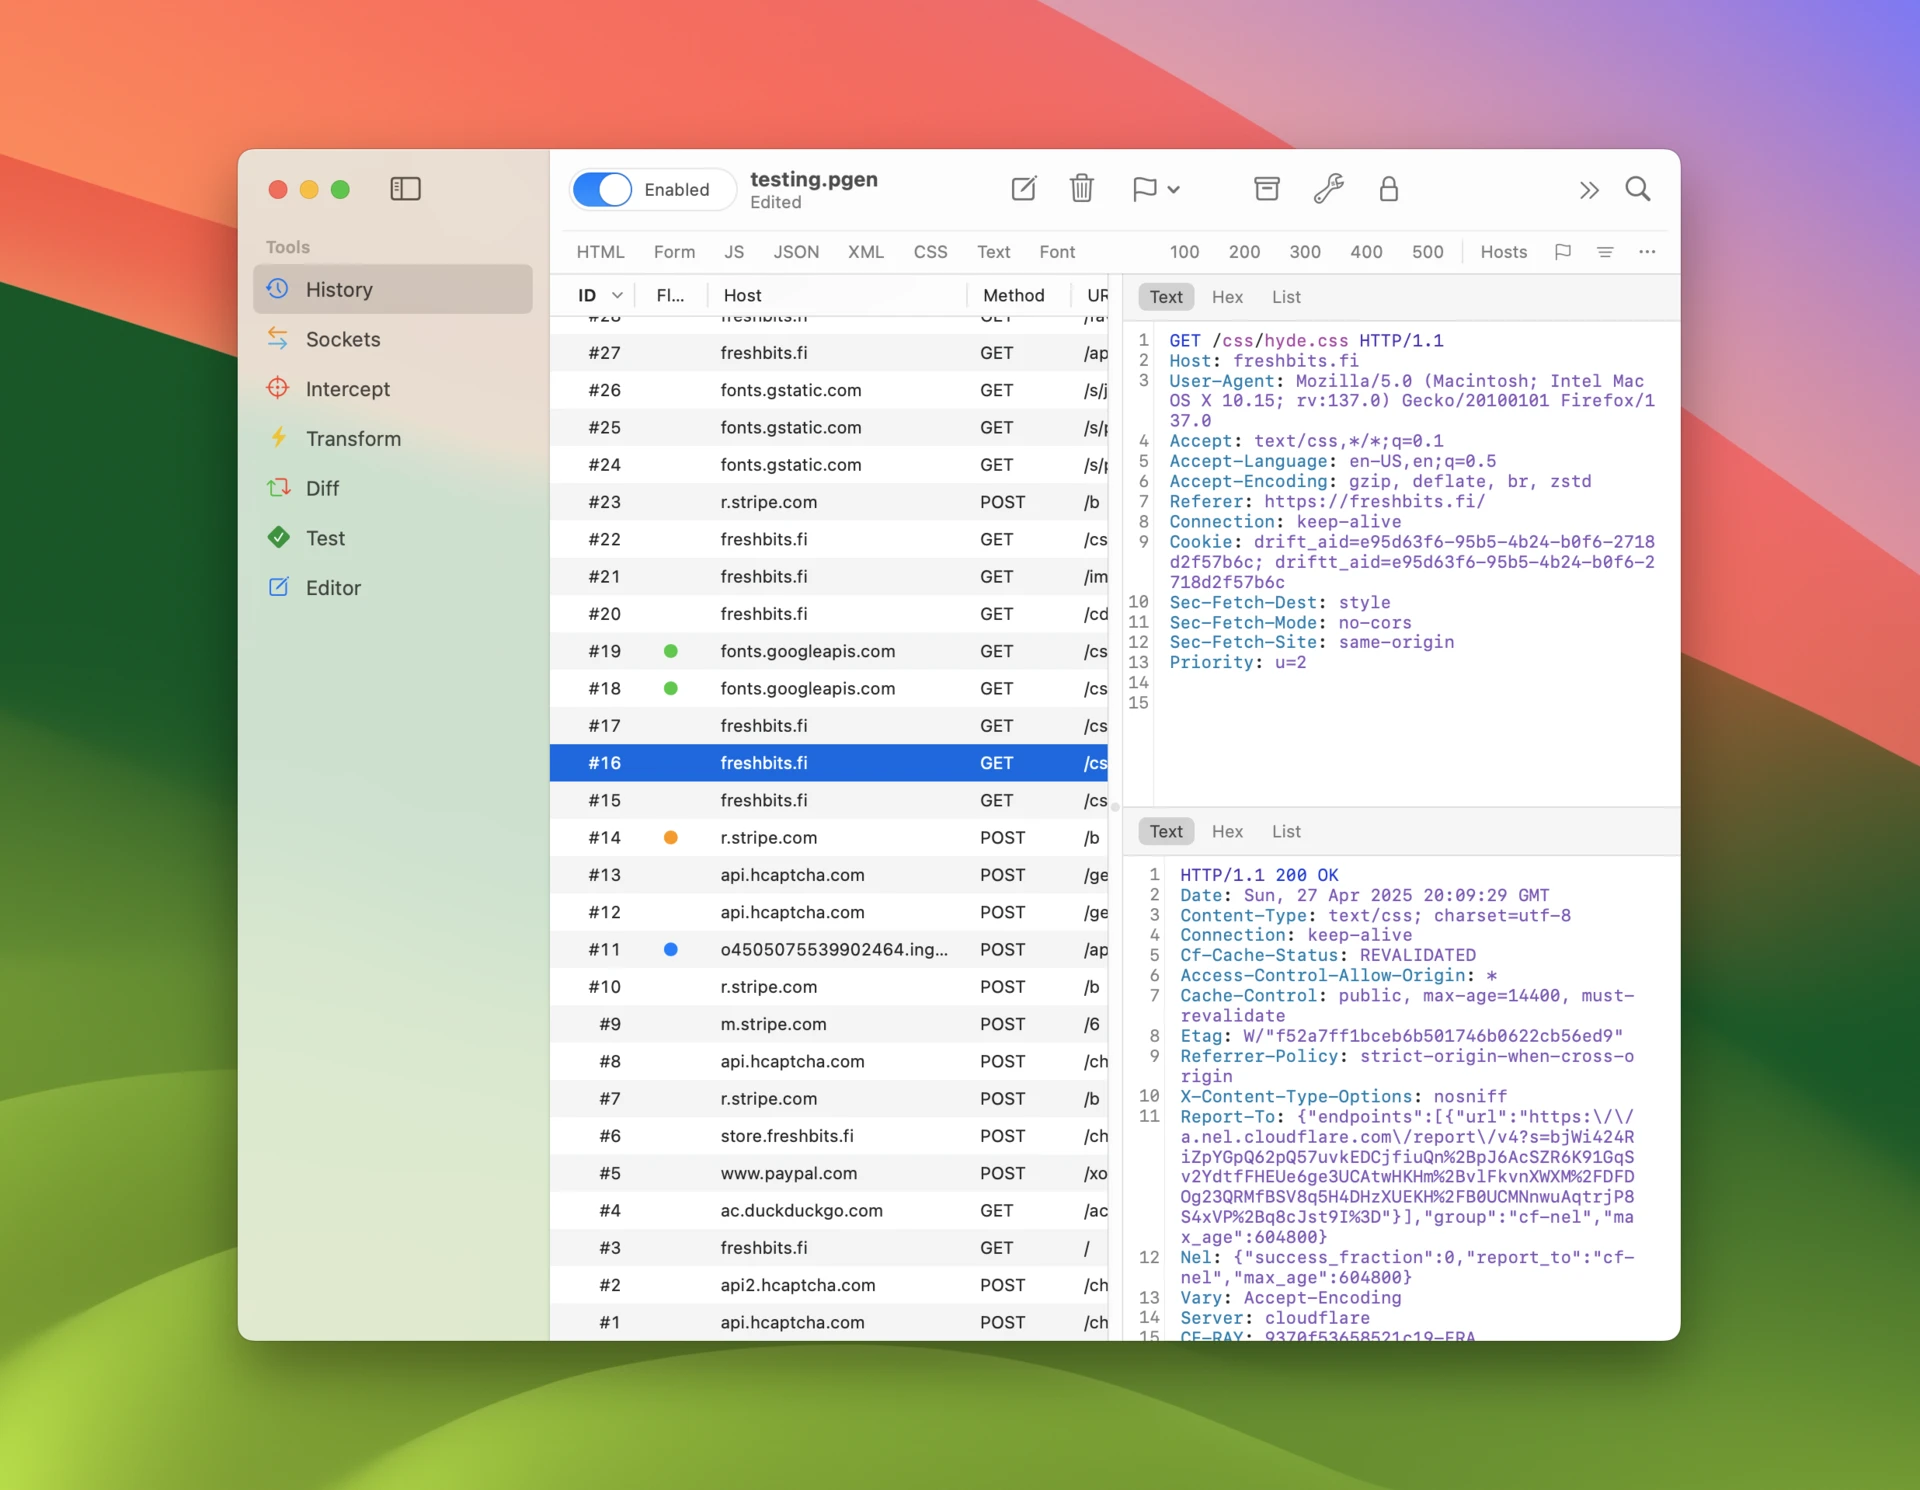
Message viewer
Proxygen has a powerful message viewer that can render message contents in various modes. The mode you select is used as a preferred mode when browsing messages and used when available for selected data.
The following viewer modes are available:
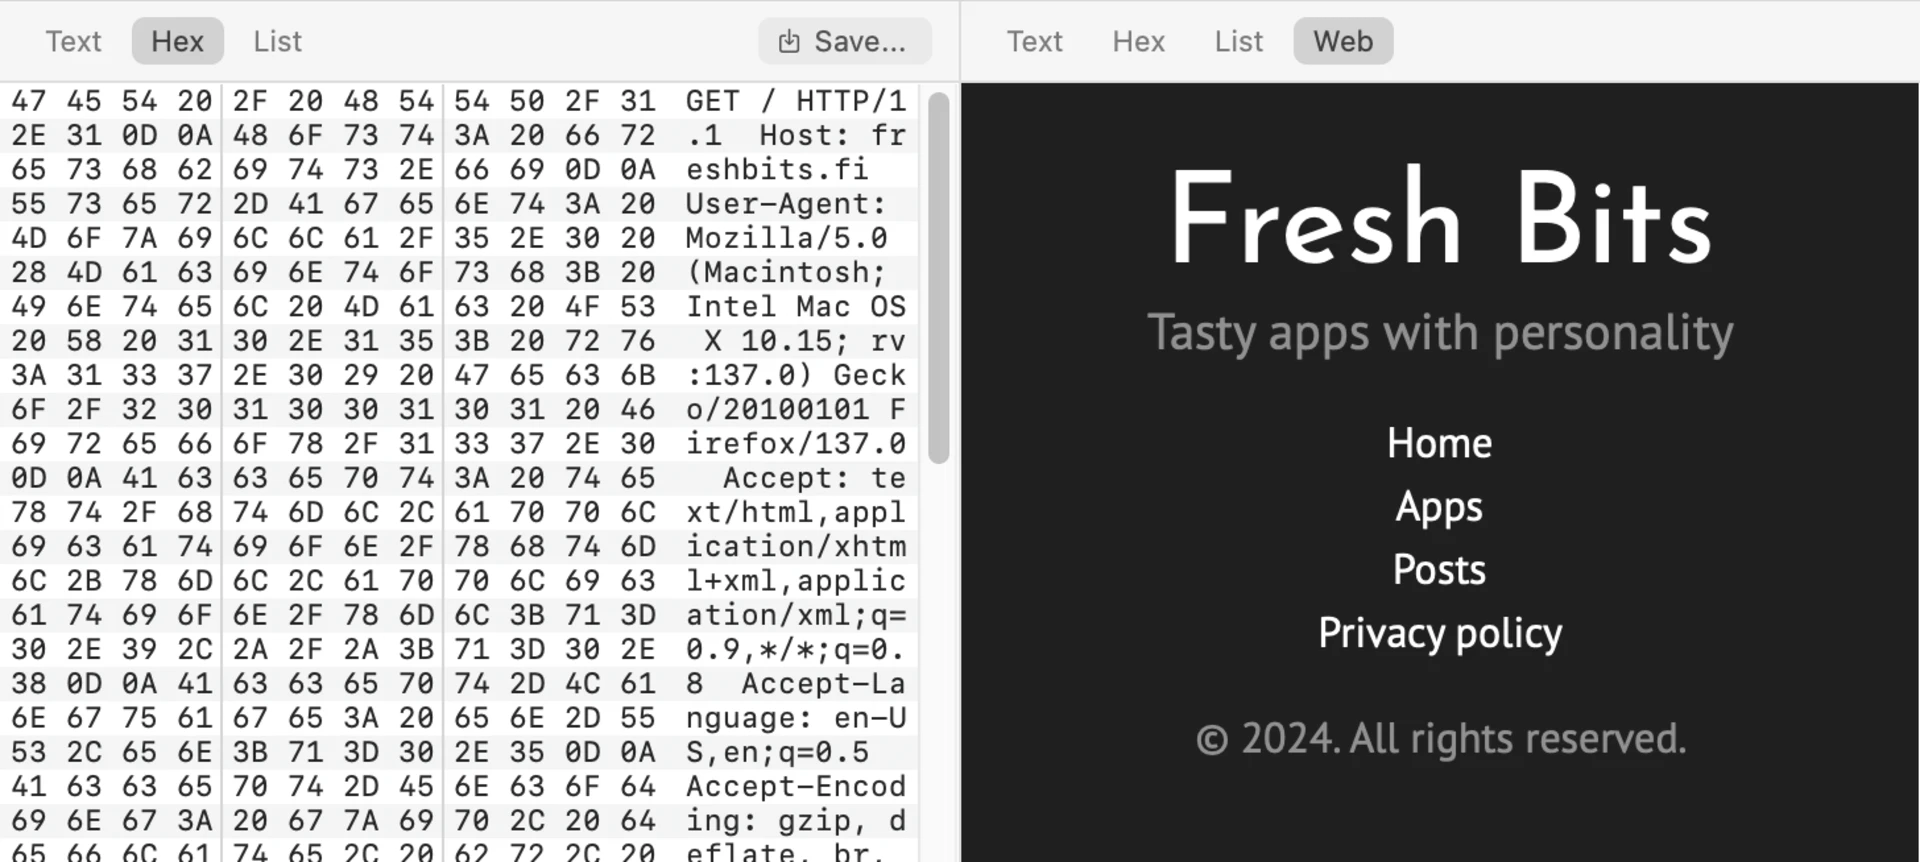
- Text mode does high-performance syntax highlighting using a custom Tree-sitter based HTTP grammar. For a message with a binary body, the head is shown as text with the body below it in hex.
- Hex mode is used for messages with binary data. You can save all data or selected byte range to a file. Intercept and Editor tools allow editing in this mode.
- List view shows request and status line, query items and headers as separate rows, where they can be easily copied to clipboard. Intercept and Editor tools allow editing in this mode.
- HTML mode renders HTML content either in a web view, tree or pretty printed text.
- Script mode displays a beautified version of JavaScript body.
- Image or Font modes show a preview of the content.
- Other specialized modes such as JSON, XML and Protobuf show data in tree-like or pretty printed form.
Filter rules
To do more fine grained filtering enable filter rules using the toggle in the accessory bar (or use control-f). Filter rules can be targeted to specific parts of the message and configured with more accurate matching logic. Each rule can be disabled using a checkbox.
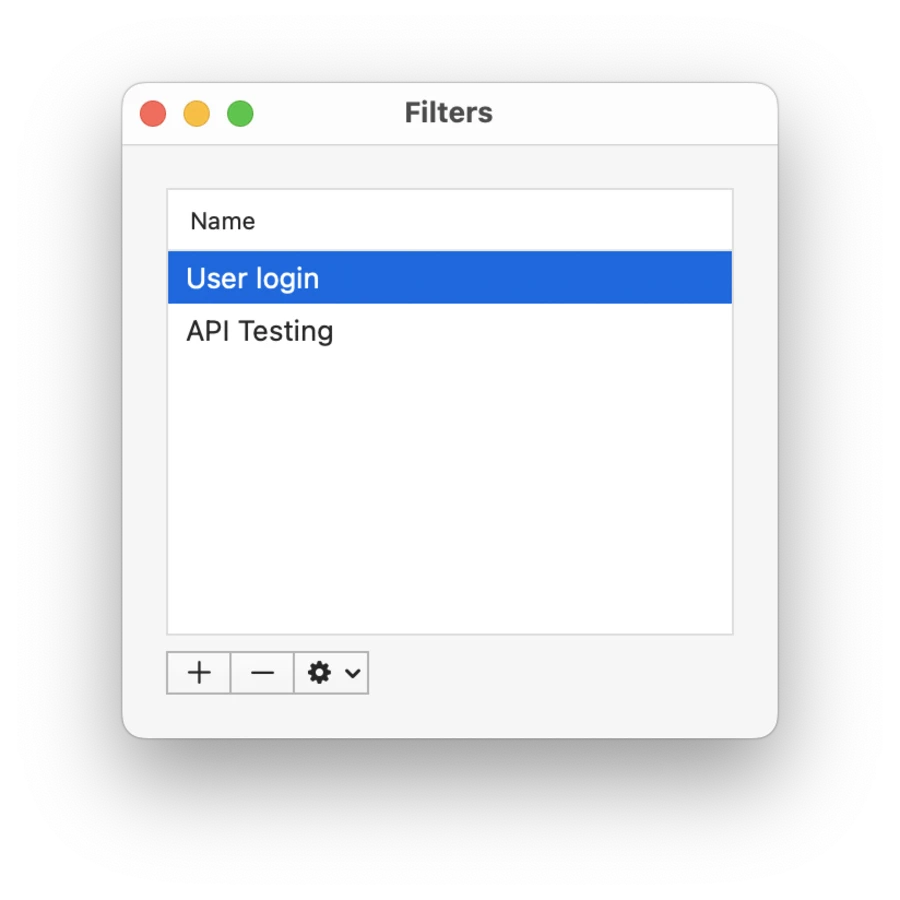
To save your current filter rule configuration
- Open the menu at the end of the accessory bar and select Save Filter.
- Name your filter rule configuration and click OK.
- All saved configurations are available for quick access in this menu.
- Select Manage Filters to duplicate, reorder and delete configurations.
TLS proxy
Configure what connections are decrypted using HTTPS MitM. Connections that are not TLS proxied pass through the proxy in encrypted form, do not appear in message history, and are not saved in the open document.
Two tables control this. Included holds the client apps and target hosts whose connections are TLS proxied, and Excluded holds those that are not.
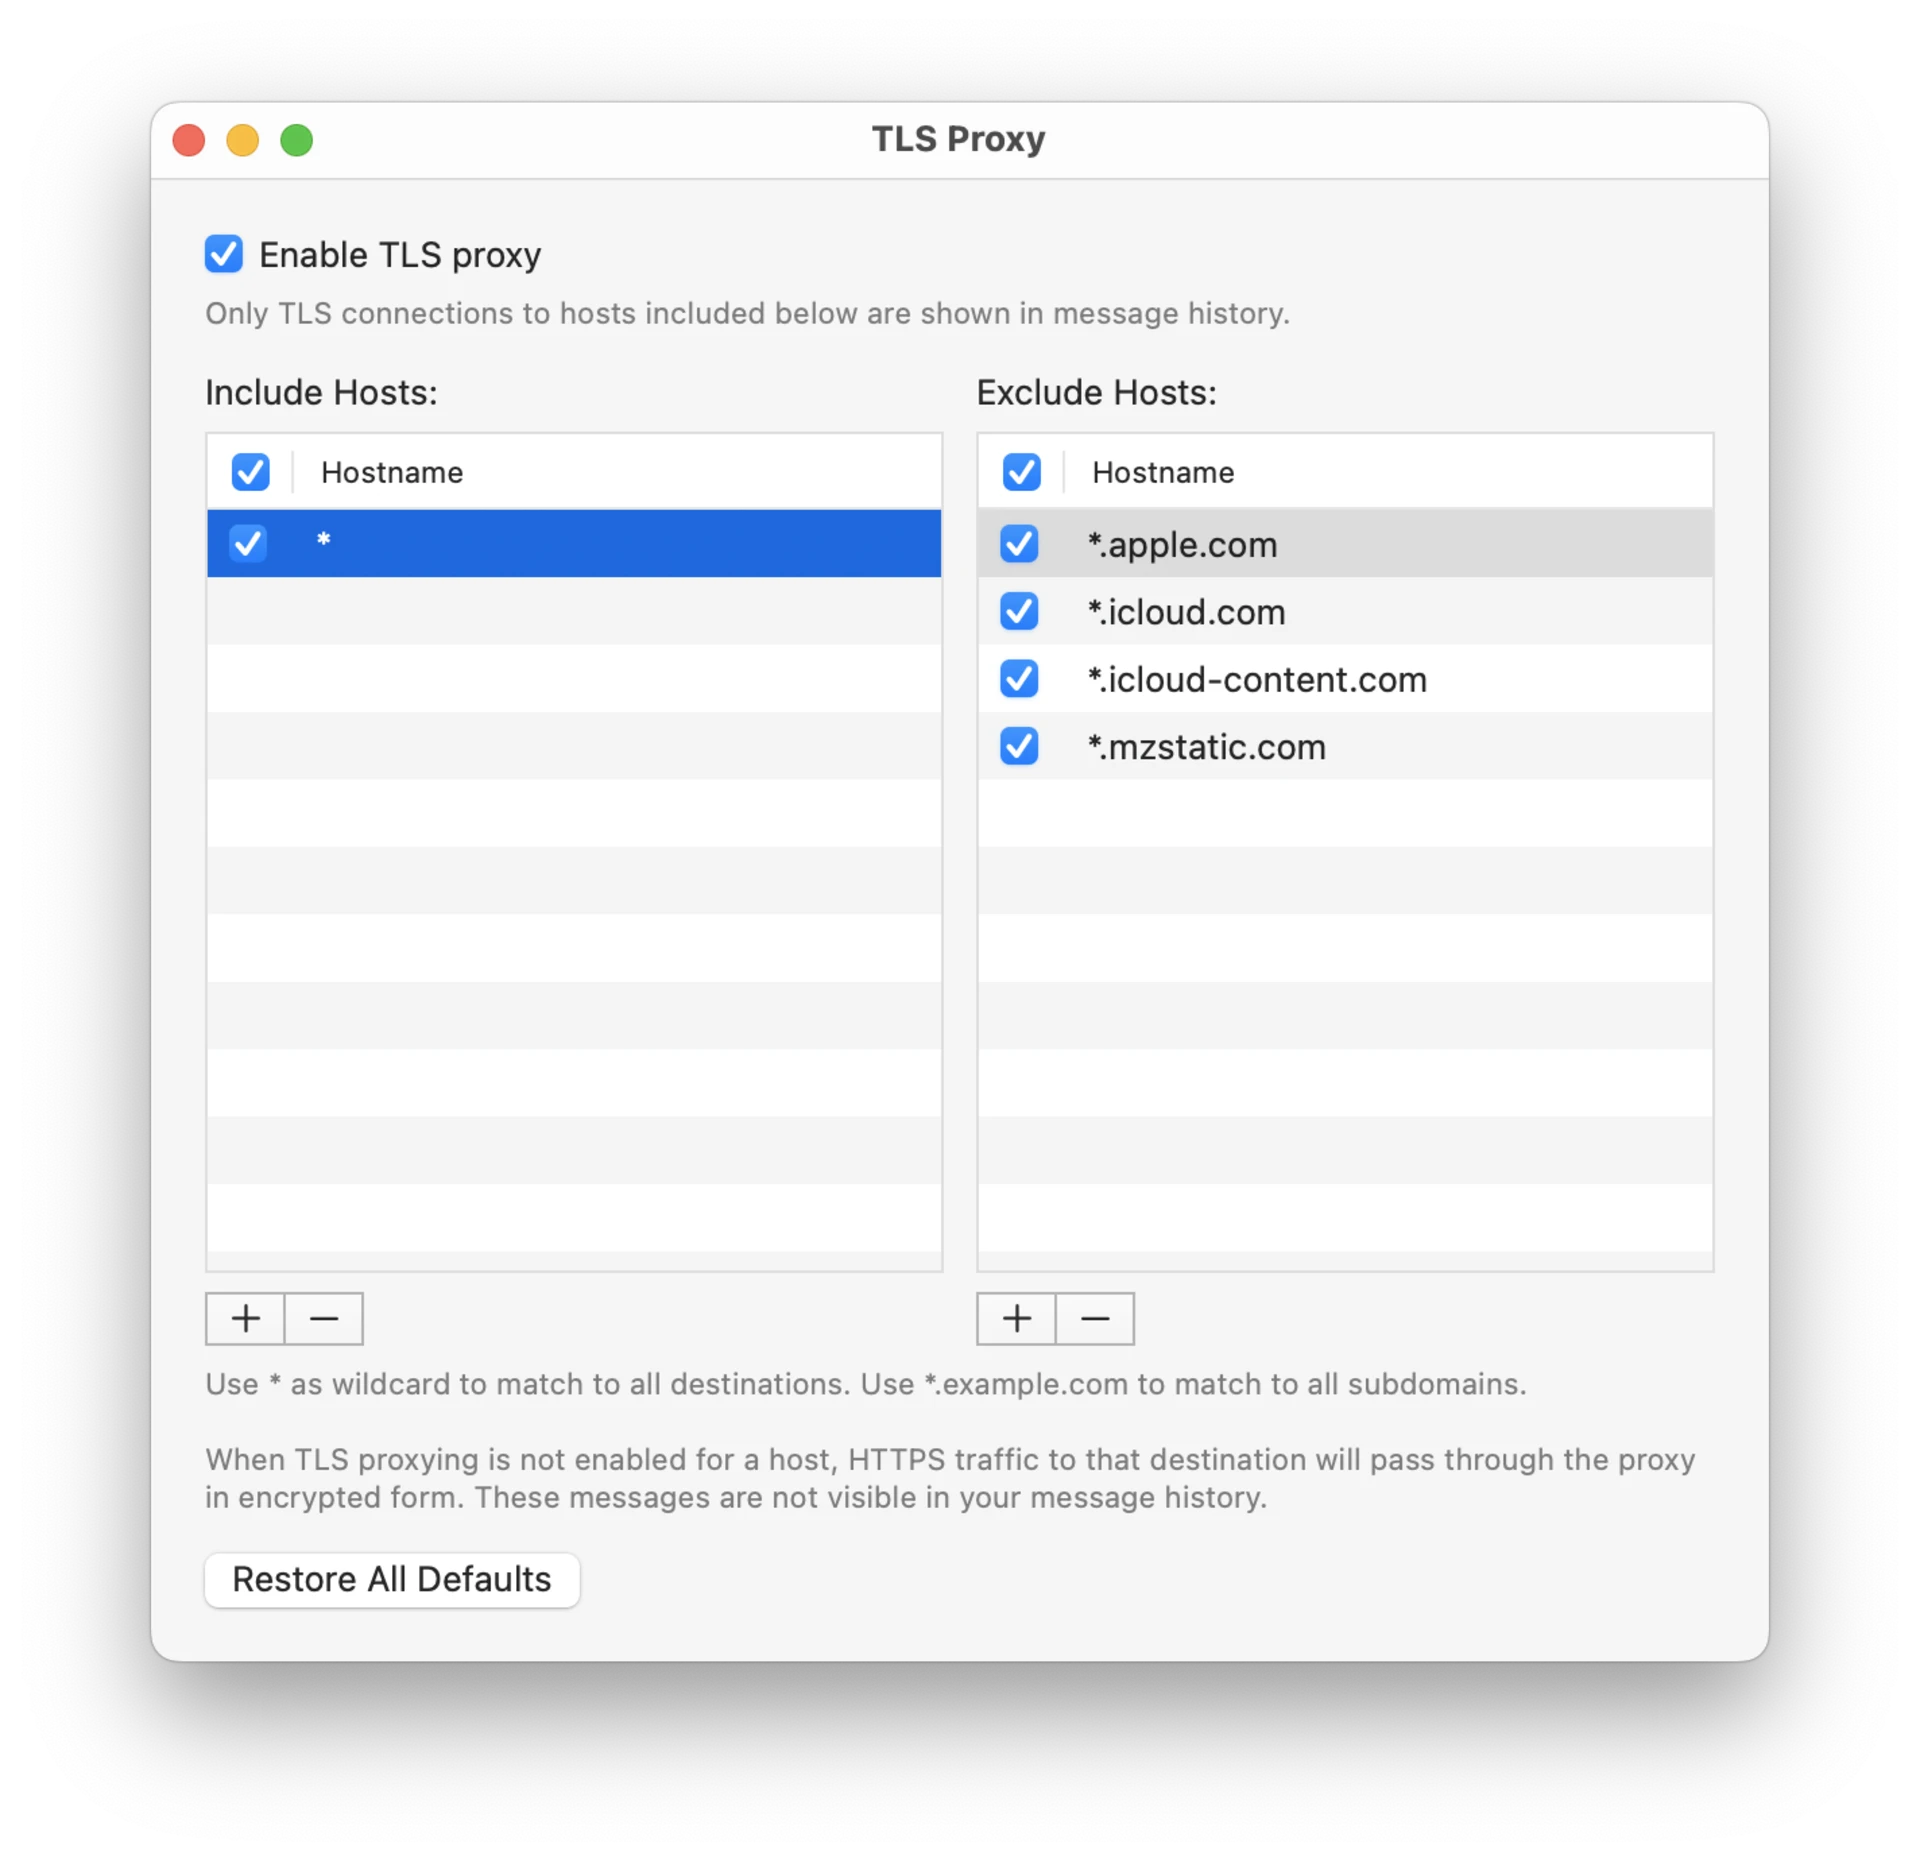
By default the Included table contains two special items:
- Any App matches connections from any client app.
- Any Host matches connections to any target host.
Together these decrypt all HTTPS traffic, which is why everything is visible out of the box. Replace them with specific entries to only TLS proxy the traffic you are interested in.
Use the + App and + Host buttons below either table to add entries. Both menus list apps and hosts seen in the current message history for quick access.
Hosts are matched against the destination hostname:
- Wildcard
*matches with any domain. - Use wildcards such as
*.example.comto match all subdomains.
Each included and excluded entry has a checkbox, so individual apps and hosts can be temporarily disabled without removing them. Note that you can also drag rows between the two tables.
You have the option to quickly disable TLS proxy altogether using the Enable TLS proxy checkbox, disabling MitM of HTTPS connections. This mode only allows you to see data of unencrypted HTTP connections.
At any time reset the TLS proxy configuration to default state using the Restore All Defaults button.
Content types
For more fine grained control of which types of content gets captured in the HTTP message history, use the Content Types list. It allows you to set up specific MIME content types (also known as media types) that get included. These are two-part identifiers that are used in the Content-Type HTTP header.
- Open Preferences and select General tab in Proxygen.
- Click Content Types to open the following sheet.
- Select All to capture all traffic or Selected content types to only capture selected identifiers.
At any time reset Content Types configuration to default state using the Restore All Defaults button.