Sockets
Inspect proxied WebSocket and SSE messages.
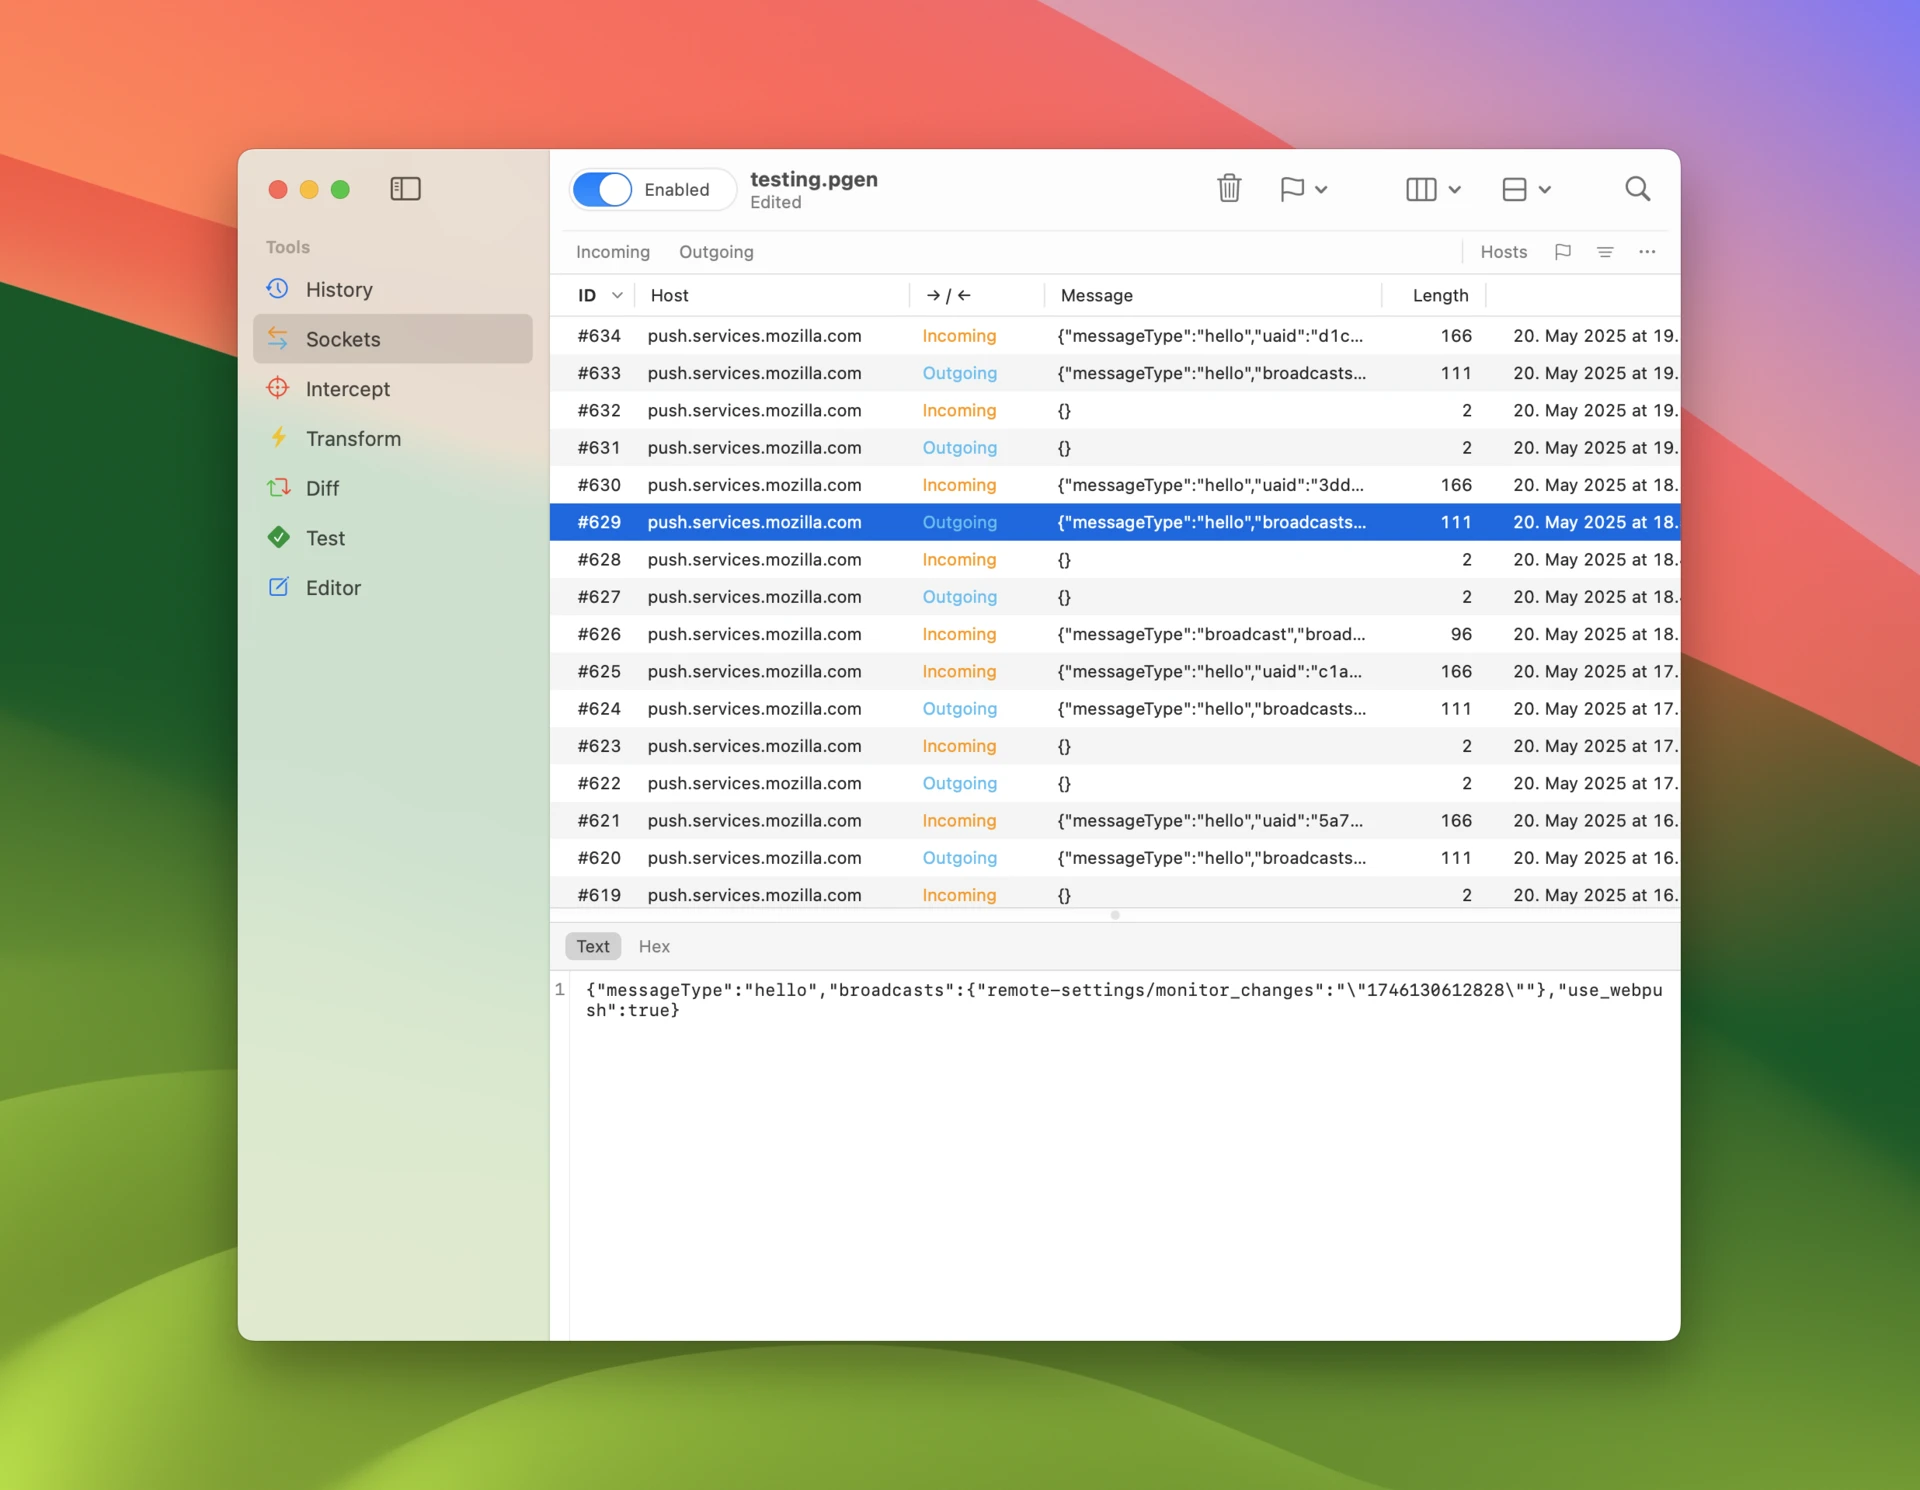
Use the Sockets tool to inspect captured WebSocket and SSE messages. It works the same as History tool but only shows messages exchanged over these connections.
Inspecting traffic
To quickly filter messages, use the filter accessory bar, where you have toggles for message direction. The Hosts popup allows you to select specific target hosts. Keyboard shortcut command-y is particularly useful for instantly filtering with target host of the selected message.
You can see whether each message is Outgoing from client to server or Incoming from server to client. You can see the data in the message in Message column as well as in the message panel below.
In the top right corner you’ll find a search field which searches from all message contents.
Messages can be sorted by clicking a column header. Columns can be reordered by dragging them horizontally. Message sort order, visible columns and their order is persisted across app launches, so you always return to the same view you were in previously.
Assign flags to messages using context menu action or keyboard shortcuts, then filter to messages with specific flags using the Flags popup.
Filter rules
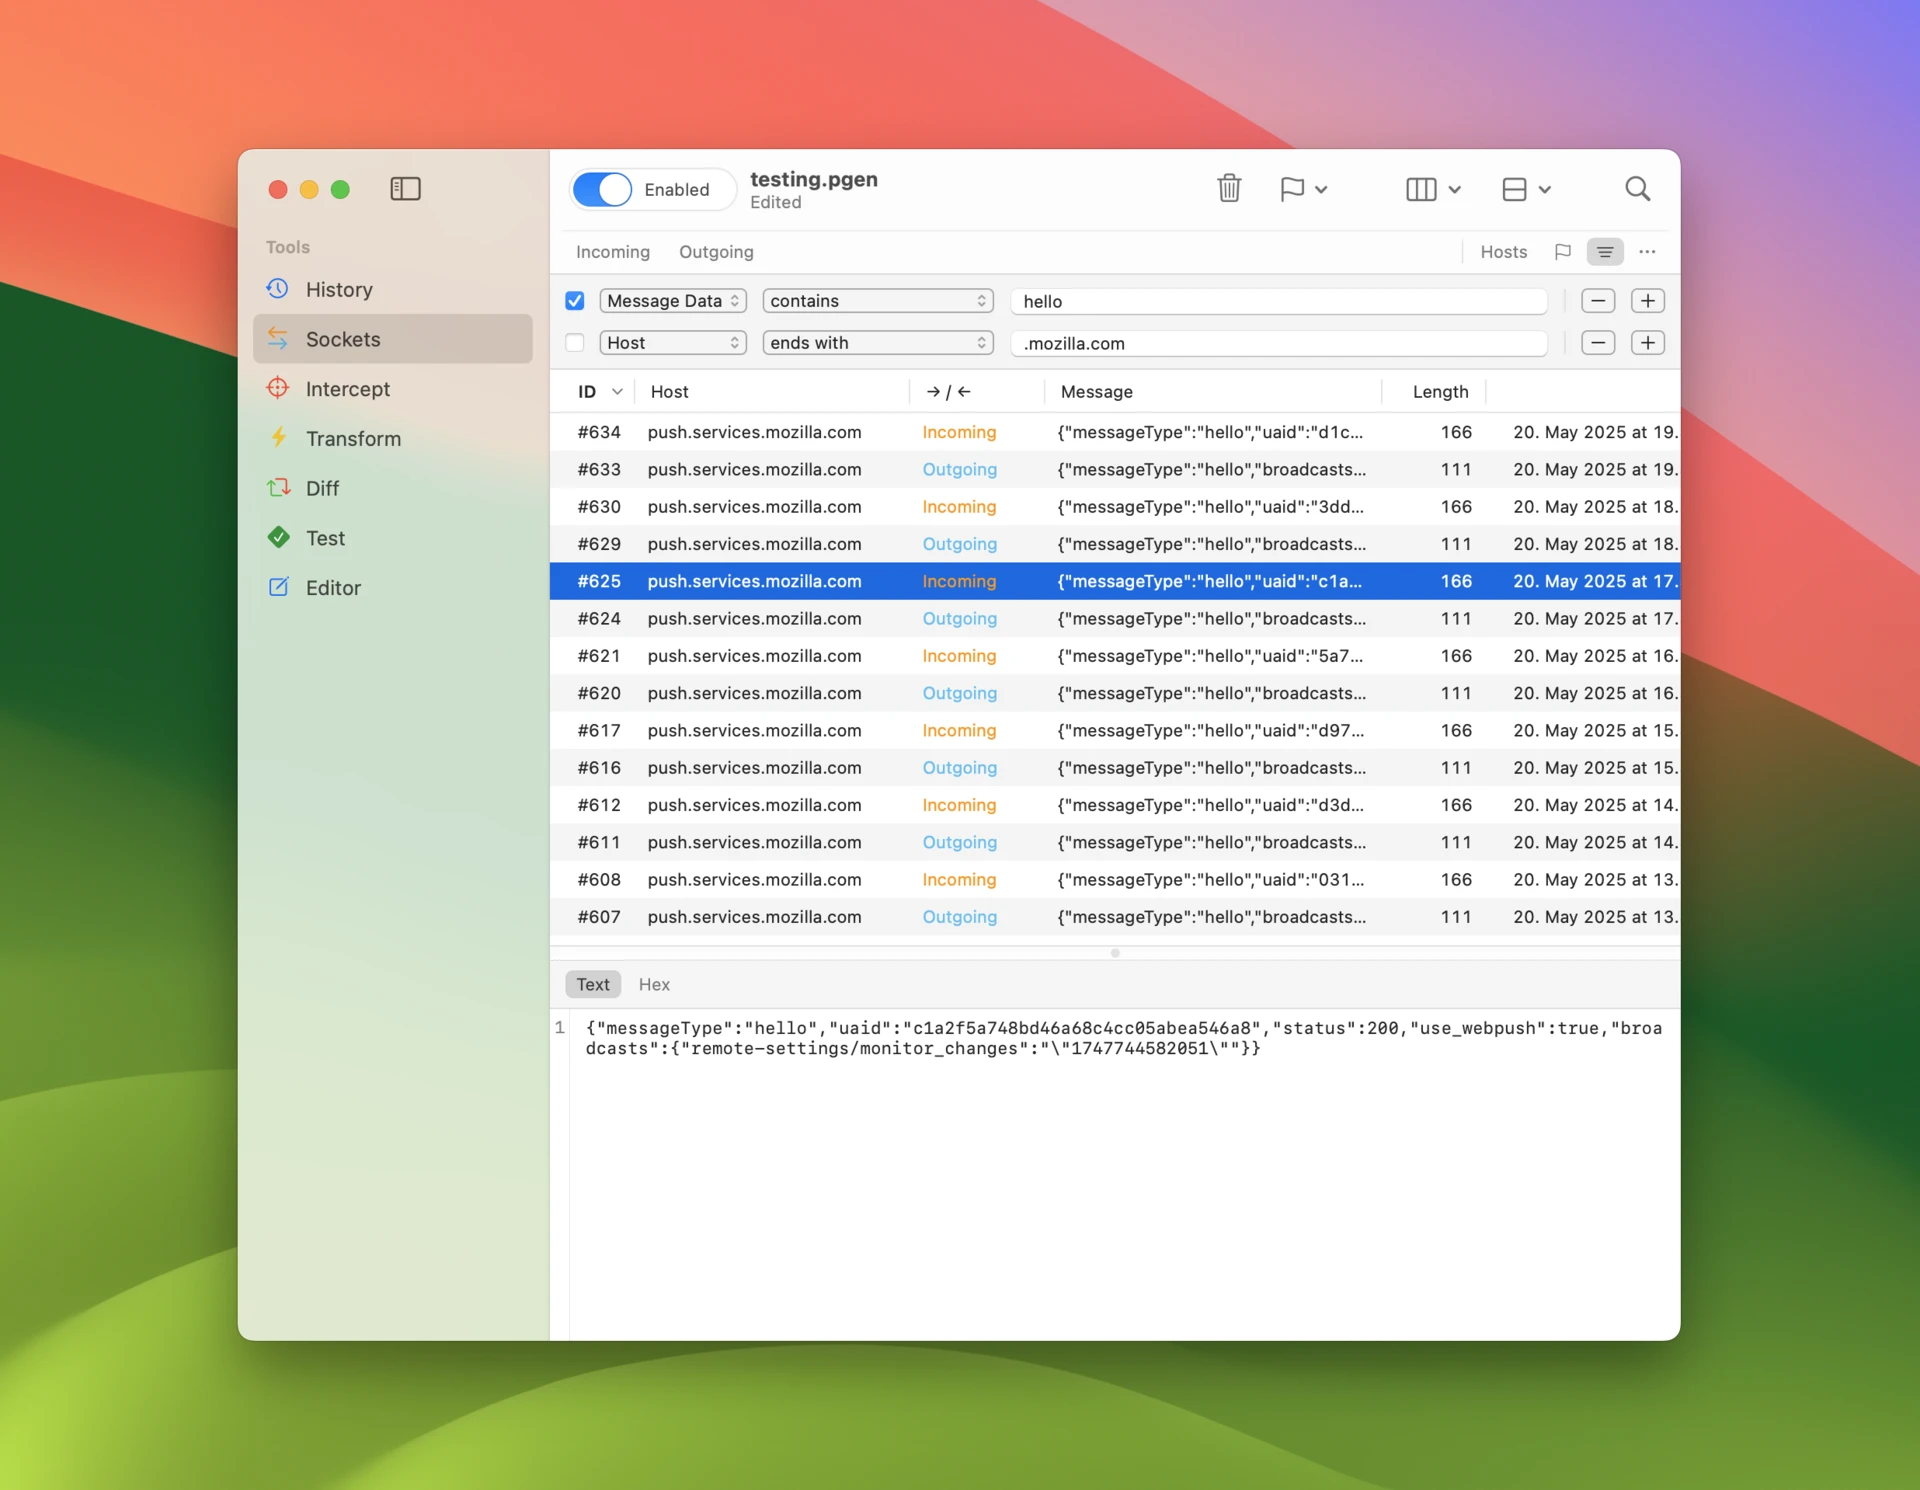
To do more fine grained filtering enable filter rules using the toggle in the accessory bar (or use control-f). Filter rules can be targeted to specific details of the message and configured with more accurate matching logic. Each rule can be disabled using a checkbox.
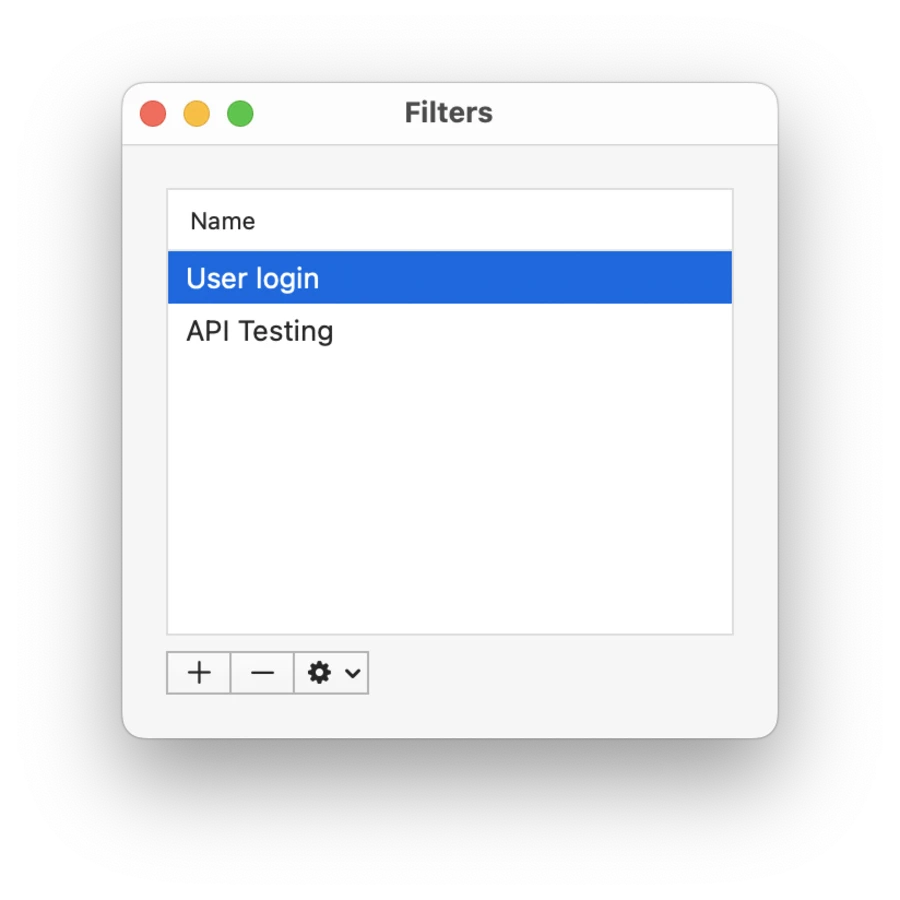
To save your current filter rule configuration
- Open the menu at the end of the accessory bar and select Save Filter.
- Name your filter rule configuration and click OK.
- All saved configurations are available for quick access in this menu.
- Select Manage Filters to duplicate, reorder and delete configurations.