Using Proxygen
Learn how to use built-in tools.
It is fairly easy to get going with Proxygen for iOS. Once you’re done with installation, just enable the proxy using the toggle in the top toolbar. You can then move Proxygen app to the background and generate the traffic you want to inspect. Launch other apps or browse websites in Safari, and then return to Proxygen to see captured messages.
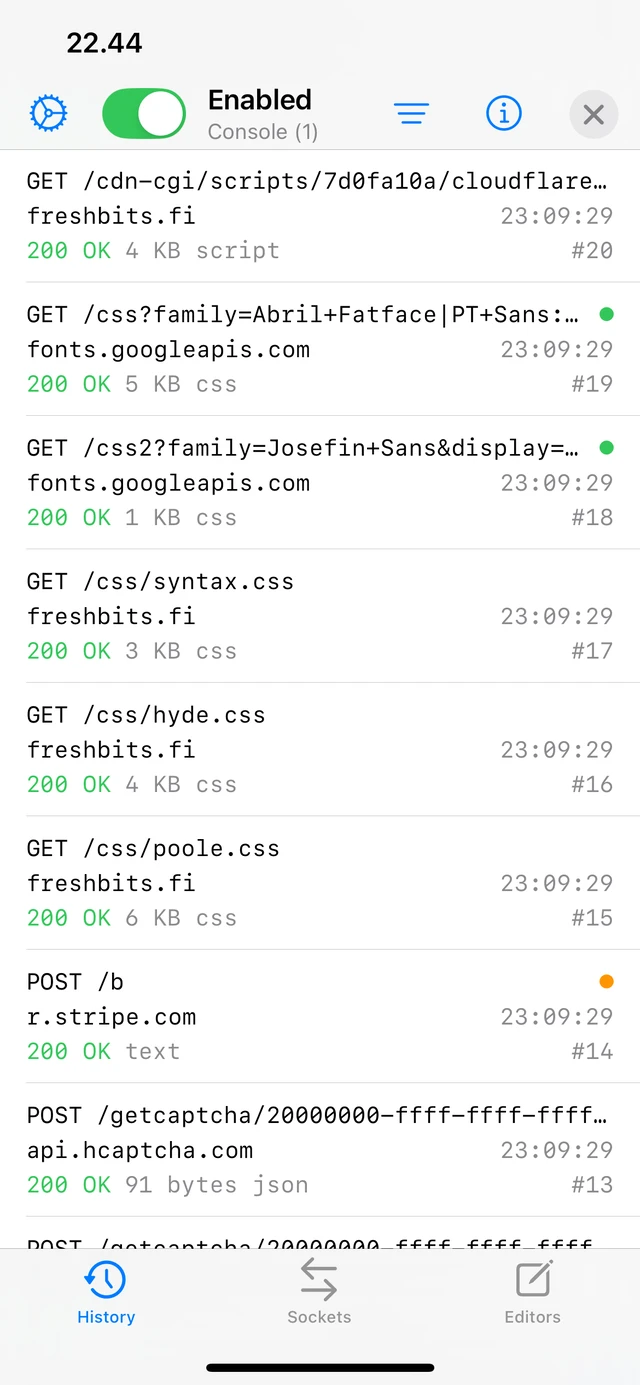
History
History tab shows a list of all captured HTTP messages. You see basic details of each message, including request method, target host, and response status code and content, along with a timestamp.
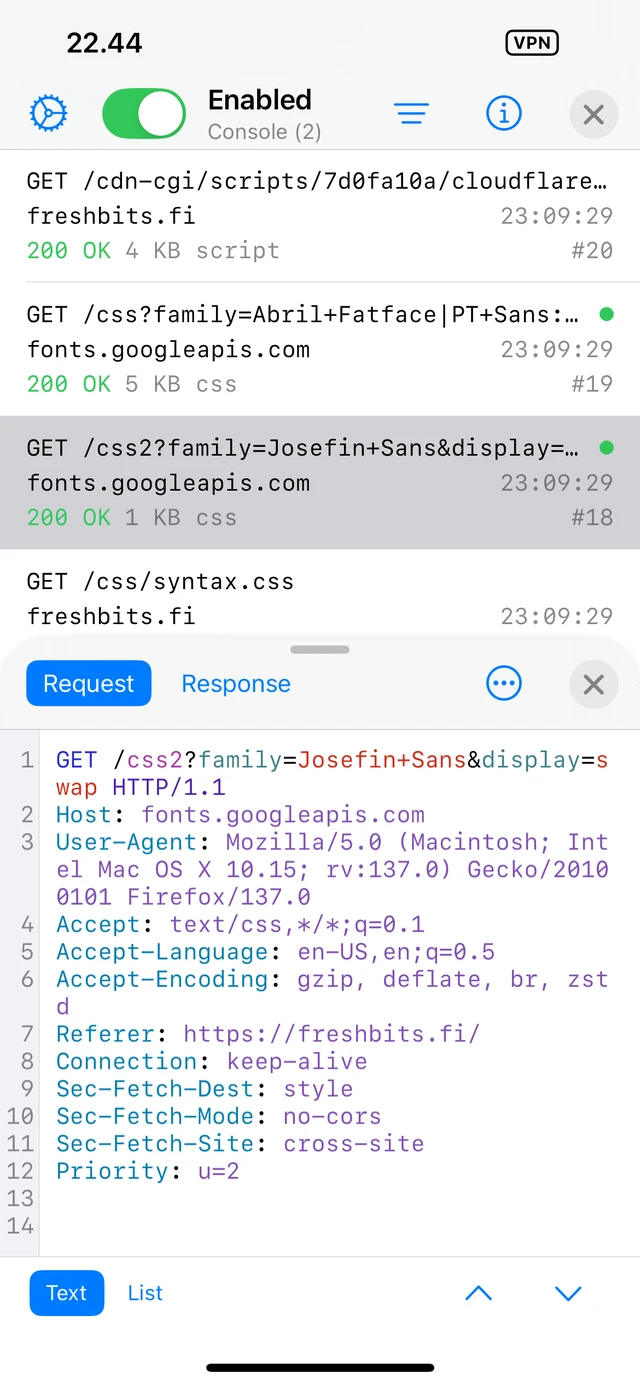
Tap any message to reveal the message viewer that allows you to inspect the request and response in various display modes.
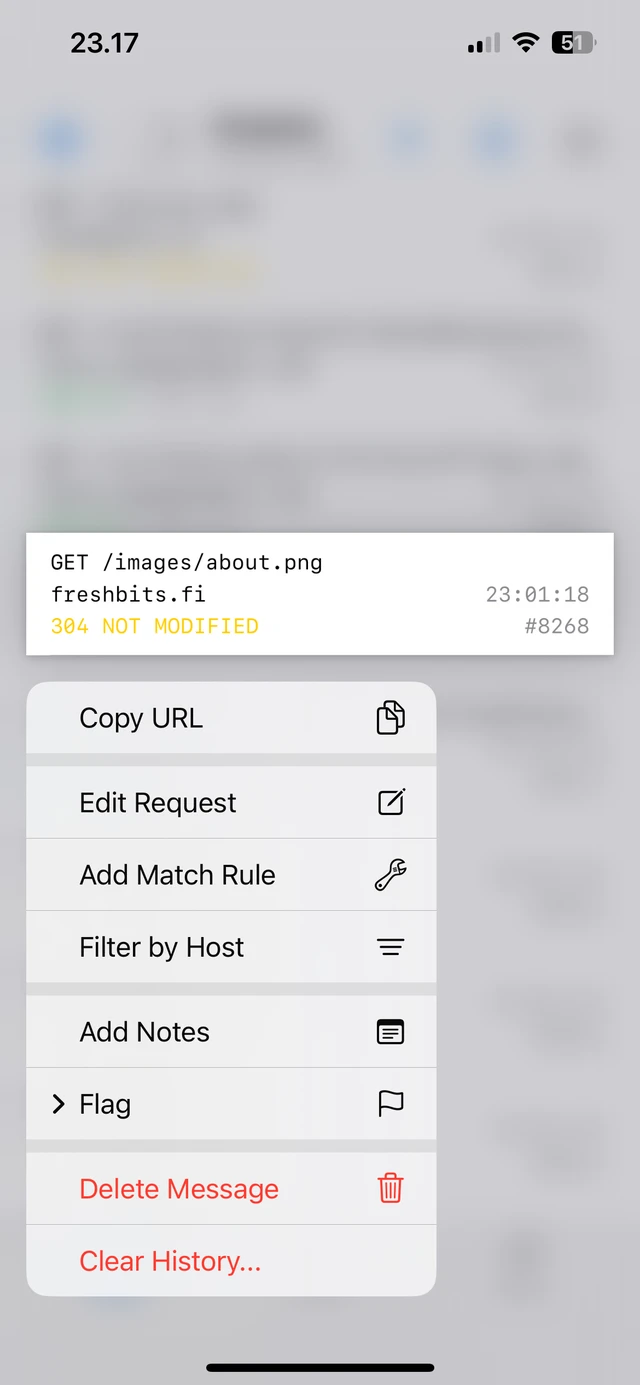
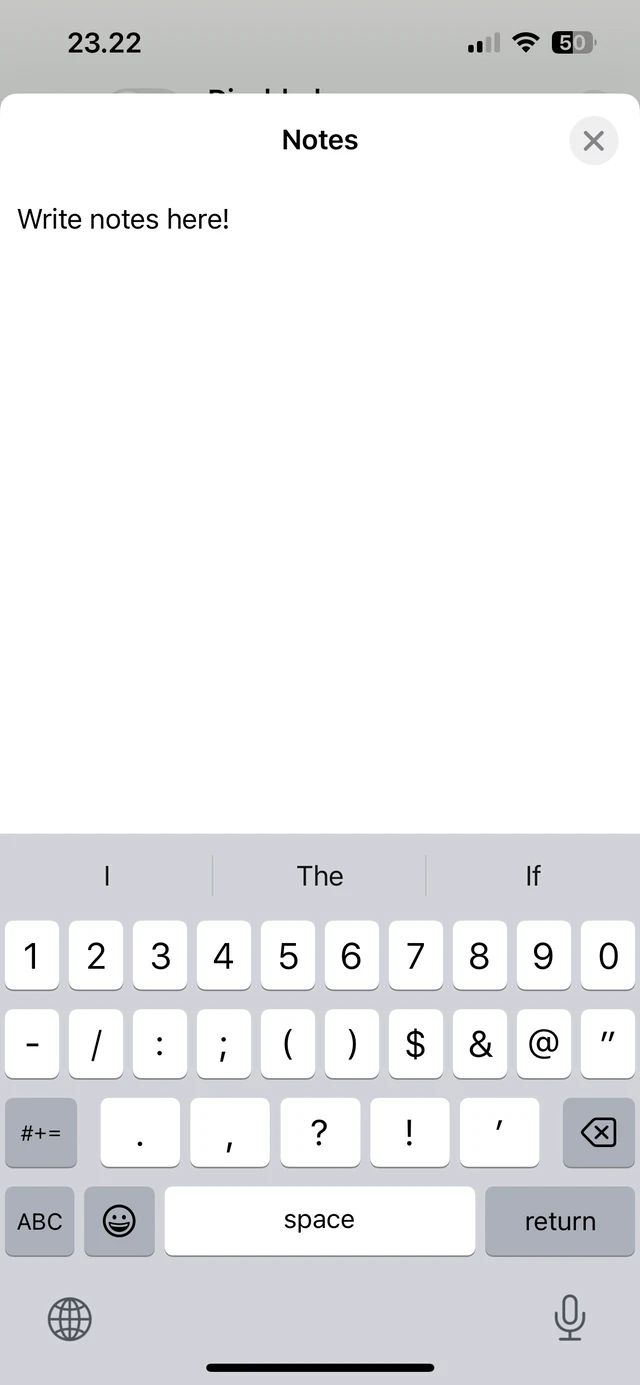
Tap and hold any message to open a context menu that has options to edit the message, add a Match and Replace rule, and apply a filter to only show messages with that target host. You can attach notes to any message or set a flag for easier filtering.
Swipe right to flag a message or copy its request to a new editor. Swipe left to delete a message. Swipe up or down with two fingers to select multiple messages.
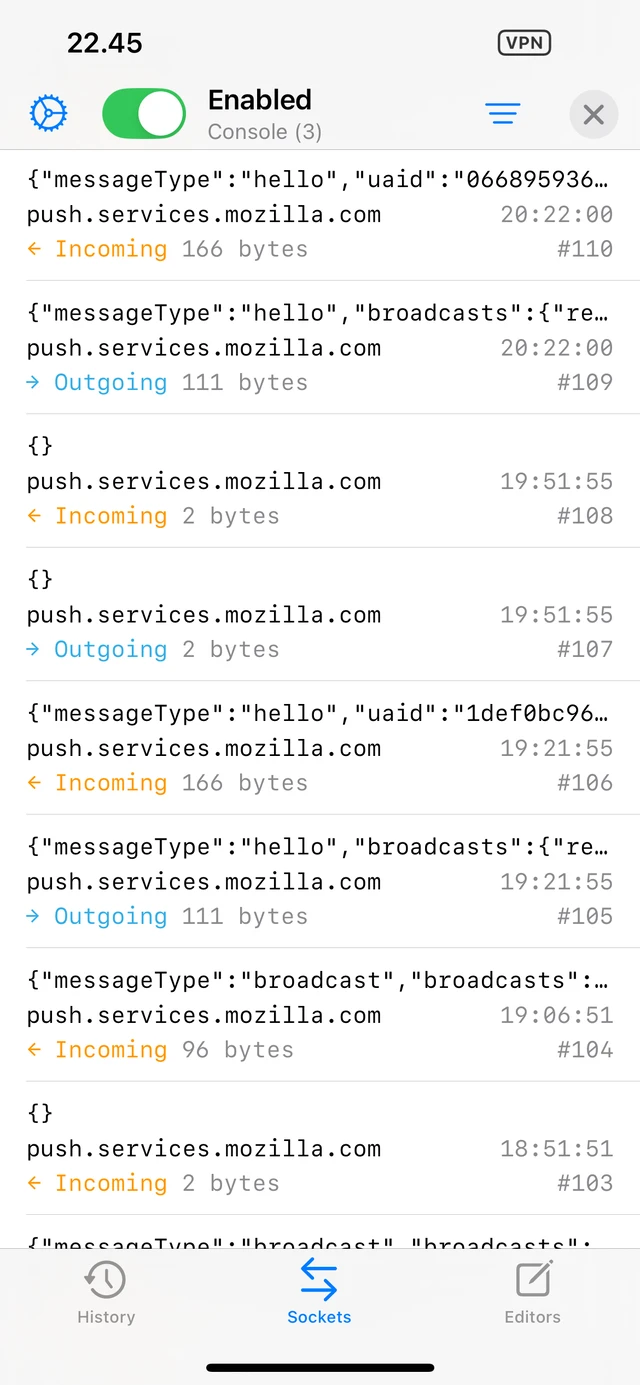
Sockets
Sockets tool displays a list of all proxied WebSocket messages. Each message displays its payload, target host, direction, and size along with its timestamp.
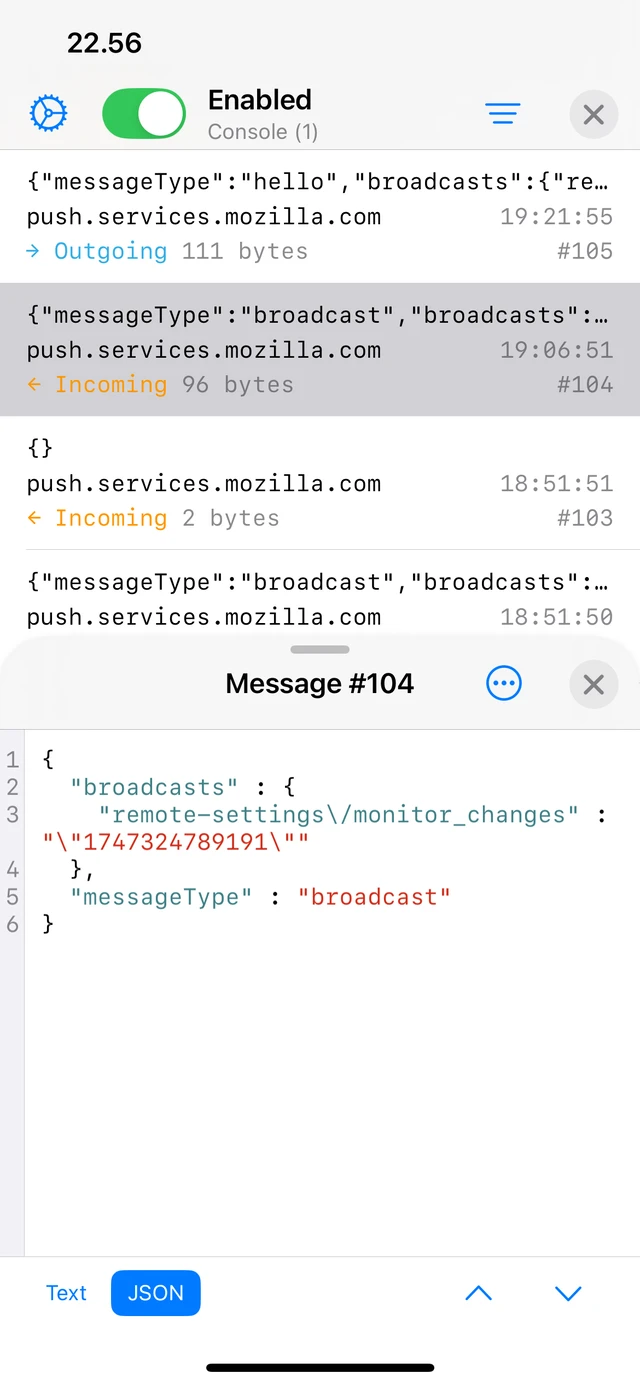
Tapping a message reveals the message viewer for inspecting the WebSocket message payload in various display modes.
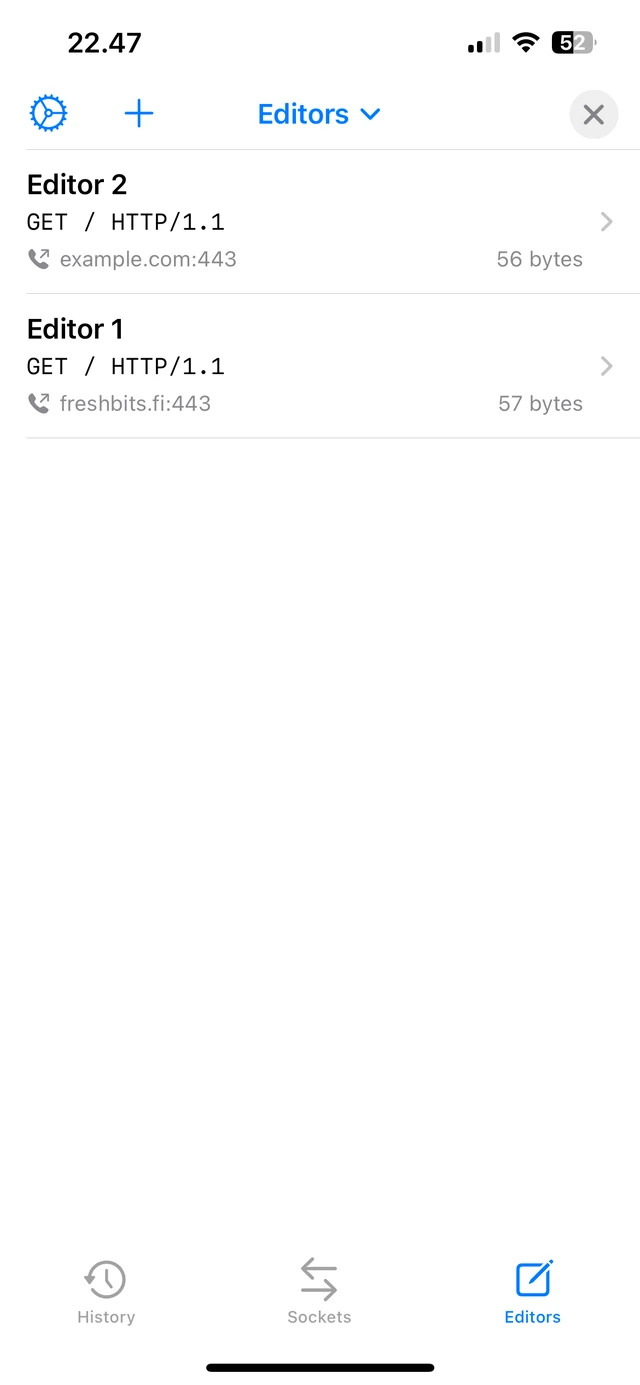
Editor
Editor tool lets you repeat requests to the target server and inspect their responses. This can be useful to debug an API on-the-go.
Add new editors from History tool, or tap the + toolbar button to add a new editor to a custom target server. Select Paste from URL to add a new editor from a URL in the clipboard.
Use the navigation buttons in the toolbar to move back and forth in previously sent requests.